Step 1: Connect the IC-Meter box to the Internet via GSM
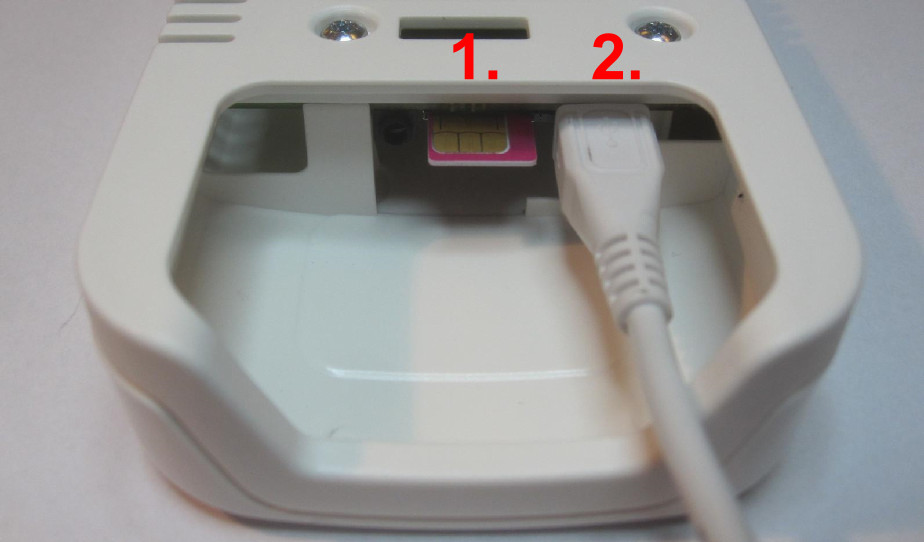
Insert SIM-card in the IC-Meter box
1. Insert SIM-card (Micro) in the buttom of the IC-Meter box, as shown in the figure to the right, and push in, until you hear a click
2. Connect the USB cable to the IC-Meter box, do not connect the cable to the computer at this time
If the PIN-code of your SIM card is not enabled, you simply plug it in and connect the power. Then the IC-meter box for most SIM cards automatically go into operation and upload measurements. Proceed to Step 2.
If the SIM card has a PIN code or the box not automatically goes into operation, you must download and run the configuration program.
Download the IC-Meter Box Setup Wizard for Windows
When the SIM-caed is correctly mounted in the IC-Meter box, the GSM network parameters is setup via an Windows application, which has to be downloaded and installed on the conputer. At the moment the application only exists for the Windows platform.
To start downloading the IC-Meter configuration program for Windows, click on the download button.
Save the IC-Meter Box Setup Wizard
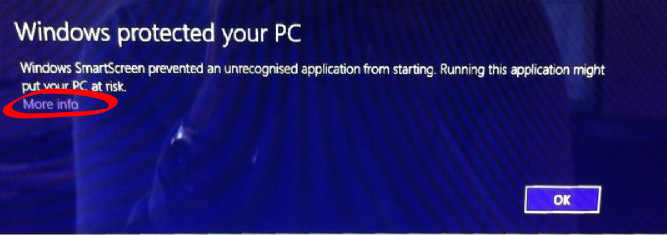
When the download is complete, you might get a warning, that the file could harm your computer. It will not, so please click on “Run“, to install the file.


Please note, the screen shots to the right is from Windows 8.1. They might look different for other versions.

Installation is complete
Installation will take just a couple of moments, and IC-Meter Box Setup Wizard will then automatically start with the IC-Meter Box Setup Wizard panel appearing on your desktop along with an IC-Meter icon in your task bar.
Now follow the instructions in the IC-Meter Box Setup Wizard to setup the correct parameters. Then return to this guide and proceed to Step 2.